How to Successfully Install a Roof Overhang: Essential DIY Tips for Homeowners
Introduction
Installing a roof overhang can greatly enhance a home’s aesthetics while providing protection from the elements. However, this DIY project requires careful planning, precision, and an understanding of building principles. This guide aims to equip homeowners with the essential tips needed for a successful roof overhang installation.
Understanding Roof Overhangs
Before embarking on the installation process, it’s crucial to understand what a roof overhang entails. A roof overhang is the portion of a roof that extends beyond the exterior walls of the home. This feature serves several purposes, including:
- Protection against water damage: It directs rainwater away from the foundation.
- Energy efficiency: Roof overhangs can help regulate indoor temperatures by shading windows.
- Aesthetics: They enhance the home’s architectural appearance.
Planning Your Roof Overhang
Determine the Purpose
Consider why you want to install a roof overhang. Is it primarily for protection, energy efficiency, or design aesthetics? Understanding your primary goal will dictate the design and construction process.
Measure the Required Dimensions
Utilize a tape measure to determine the length of the overhang. Typically, a good overhang extends 1 to 2 feet beyond the walls. This measurement will depend on your roofing material, slope, and desired level of overhang.
Selecting Materials
Choosing appropriate materials is vital. Common materials used for roof overhangs include:
- Wood: Affordable and versatile but may require regular maintenance.
- Vinyl: Low maintenance and available in various styles.
- Metal: Durable and often used for modern architectural designs.
Tools and Equipment Needed
Having the right tools can greatly facilitate your installation process. Here is a list of necessary tools and equipment:
- Measuring tape
- Level
- Ladder
- Circular saw
- Nail gun or hammer
- Safety goggles and gloves
Installation Process
Step 1: Prepare the Site
Before you start, ensure that the area is clean and free of debris. Remove any existing gutters or downspouts if necessary. Proper preparation helps maintain safety and efficiency during the installation.
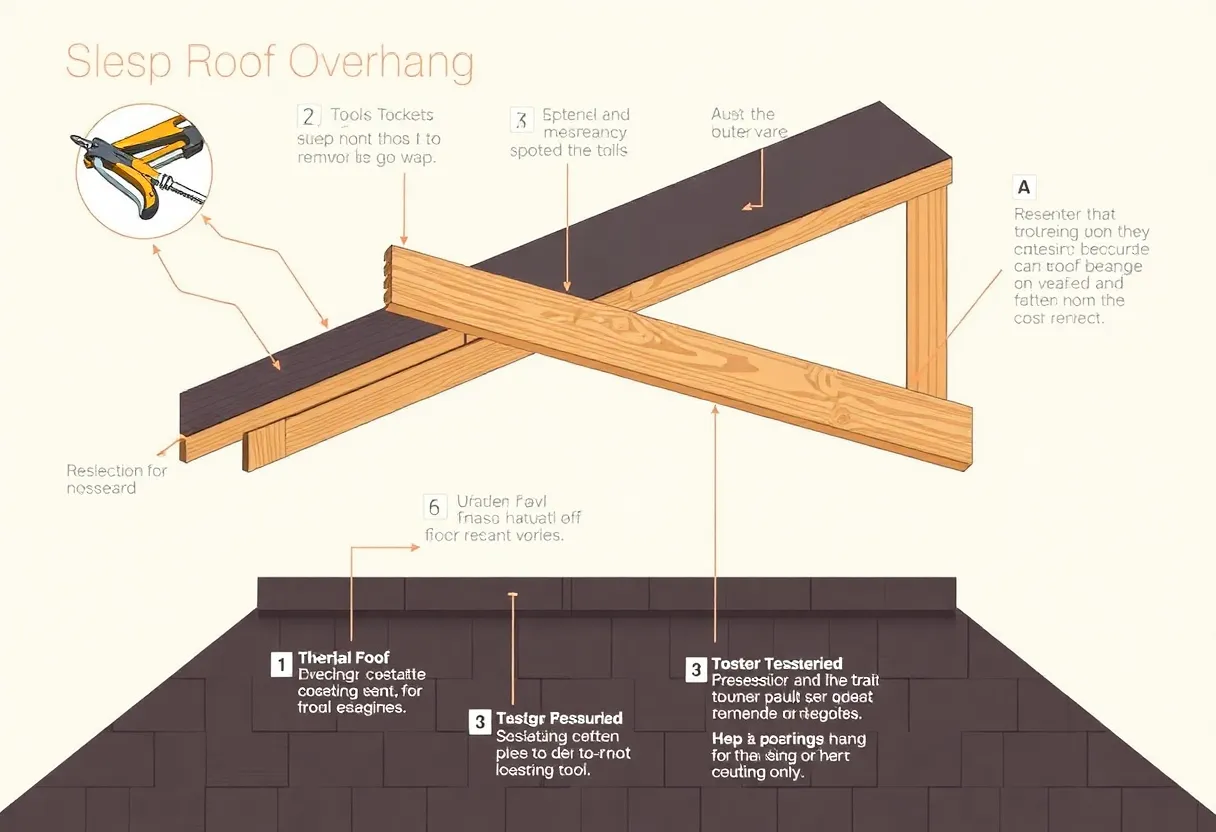
Step 2: Build the Framing
Constructing a solid framework is essential for your roof overhang. You will need to install blocking between the rafters. Use sturdy lumber suited to your design demands. The frame must be attached to the existing roof structure and secured properly for stability.
Installing Blocking
Cut wood pieces that fit snugly between the rafters. Secure these blocks using screws or nails, ensuring they are flush with the rafters.
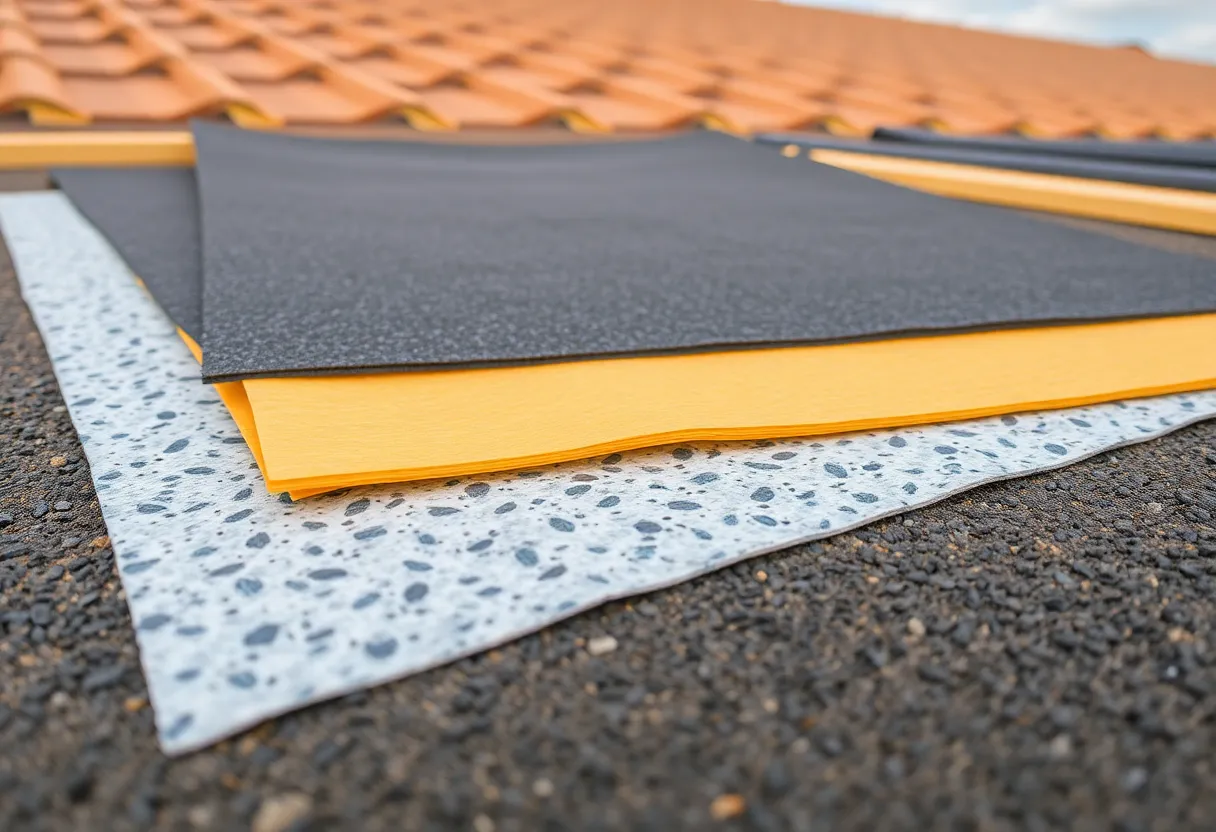
Step 3: Attach the Roof Sheathing
Choose the type of sheathing based on your roofing material. Plywood is commonly used due to its durability. Cut the sheathing panels to size, then attach them to the framework securely with nails.
Step 4: Install the Roofing Material
Select a roofing material that complements your home’s exterior. Popular choices include shingles, metal panels, or tiles. Follow the manufacturer’s instructions for proper installation techniques, ensuring waterproofing is adequately addressed.
Finishing Touches
Step 5: Add Gutters and Downspouts
Proper drainage is crucial for a roof overhang. Install gutters along the edge of the overhang to channel water away from the foundation. Ensure that downspouts direct water away from the home’s perimeter.
Step 6: Insulation and Ventilation
Incorporating insulation and ventilation is essential, especially in areas where temperature fluctuations are common. Make sure to include vents in your overhang design if applicable, promoting airflow and reducing humidity in the roof space.
Safety Precautions
Safety should always be a priority during any home improvement project. Here are vital safety tips:
- Use a sturdy ladder and ensure it is on stable ground.
- Wear safety goggles and gloves to protect against debris.
- Work with a partner when necessary, especially at heights.
Maintenance Tips for Roof Overhangs
Once your roof overhang installation is complete, regular maintenance is critical to ensure longevity. Here are key maintenance practices:
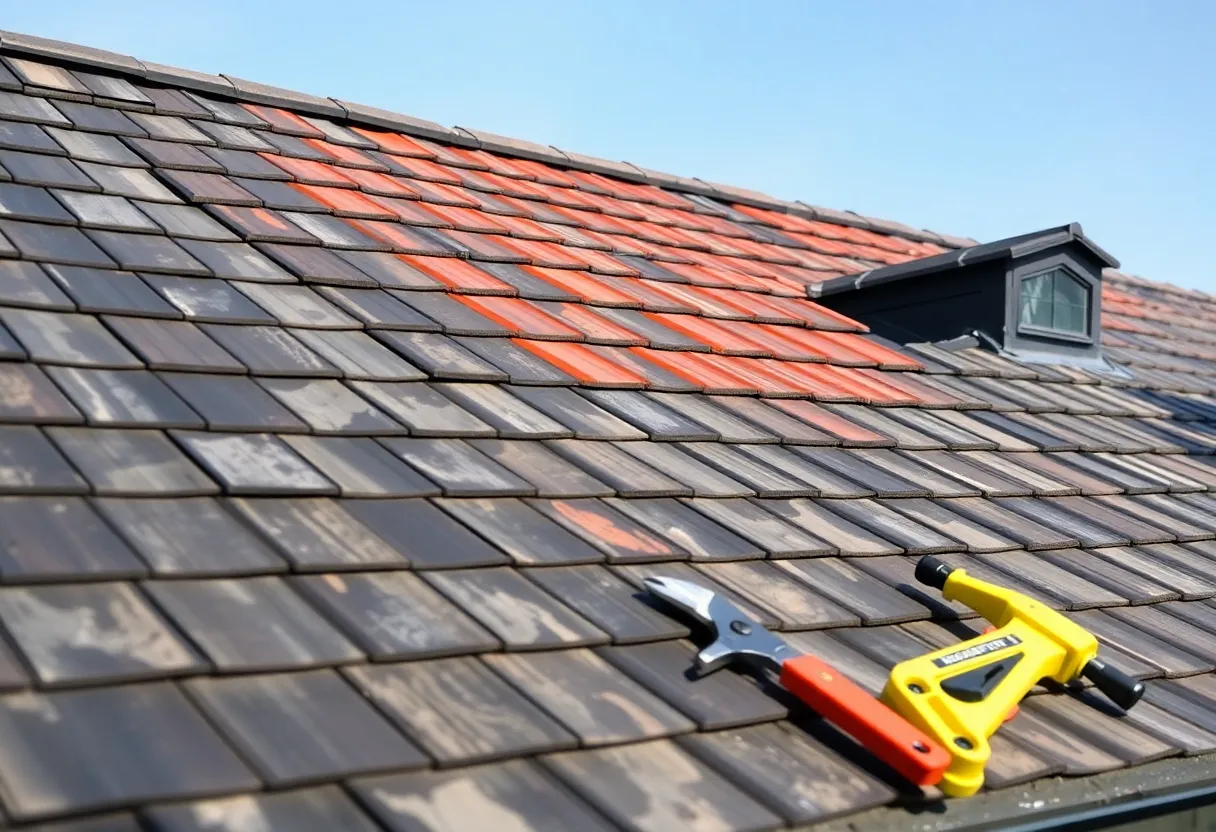
- Inspect regularly: Check for signs of damage or wear, particularly after severe weather.
- Clean gutters: Prevent clogs that can trap water and cause leaks.
- Repaint or seal: Wooden overhangs should be painted or sealed periodically to prevent rot.
Conclusion
Installing a roof overhang can be a rewarding DIY project that enhances your home’s functionality and appeal. By meticulously planning, selecting the right materials, and following the installation steps outlined, you can achieve a successful result. Always prioritize safety, and don’t hesitate to consult professionals if you’re uncertain about any aspect of the installation process.
Author: STAFF HERE LEXINGTON WRITER
The LEXINGTON STAFF WRITER represents the experienced team at HERELexington.com, your go-to source for actionable local news and information in Lexington, Fayette County, and beyond. Specializing in "news you can use," we cover essential topics like product reviews for personal and business needs, local business directories, politics, real estate trends, neighborhood insights, and state news affecting the area—with deep expertise drawn from years of dedicated reporting and strong community input, including local press releases and business updates. We deliver top reporting on high-value events such as Woodland Art Fair, Crave Food and Music Festival, and Railbird Festival. Our coverage extends to key organizations like Commerce Lexington and Blue Grass Community Foundation, plus leading businesses in education, manufacturing, and technology that power the local economy such as University of Kentucky, Toyota Motor Manufacturing, and Lexmark. As part of the broader HERE network, including HEREBowlingGreen.com and HERELouisville.com, we provide comprehensive, credible insights into Kentucky's dynamic landscape.