How to Effectively Design Your Roof for Optimal Water Drainage: A DIY Guide
Designing a roof that efficiently manages water drainage is essential for the durability and functionality of your home. With proper roof drainage, you can prevent structural damage, minimize leaks, and extend the life of roofing materials. This DIY guide offers valuable insights into how to effectively design your roof for optimal water drainage.
Understanding the Importance of Roof Drainage
Proper roof drainage is critical for various reasons:
- It prevents water accumulation, which can lead to leaks and structural damage.
- It minimizes the risk of mold growth due to prolonged moisture.
- It ensures the longevity of roofing materials by reducing wear and tear.
Assessing Your Roof Type
Before diving into design alterations, it is imperative to understand the type of roof you possess:
Flat Roofs
Flat roofs are more susceptible to water pooling. Drainage systems must be installed strategically to promote water flow away from the surface.
Pitched Roofs
Pitched roofs can guide water down to gutters and away from critical areas. A well-designed slope is crucial for effective drainage.
Key Elements of Roof Design for Effective Drainage
Effective roof drainage hinges on several key design elements:
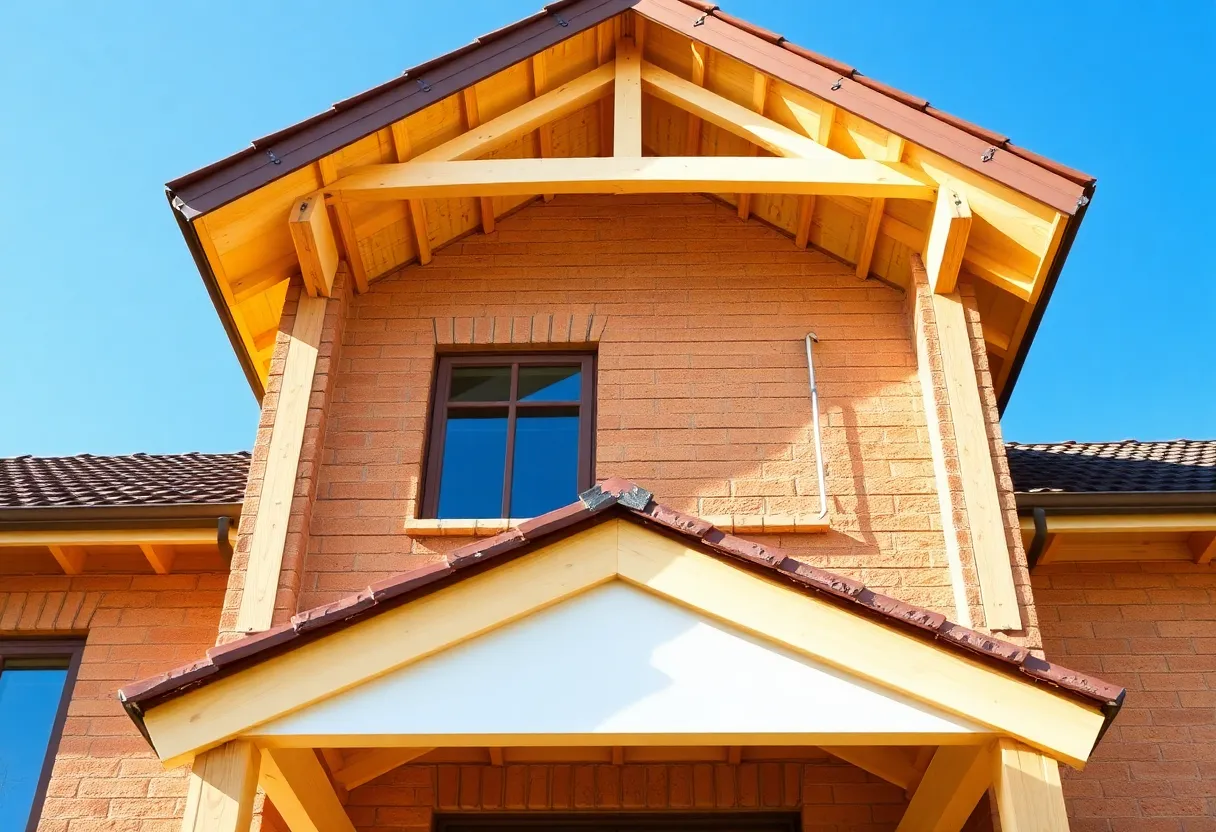
1. Roof Pitch
The angle of your roof pitch significantly impacts water drainage. A steeper pitch allows for quicker water runoff, reducing pooling risk. Aim for a minimum pitch of 1:12 for effective drainage.
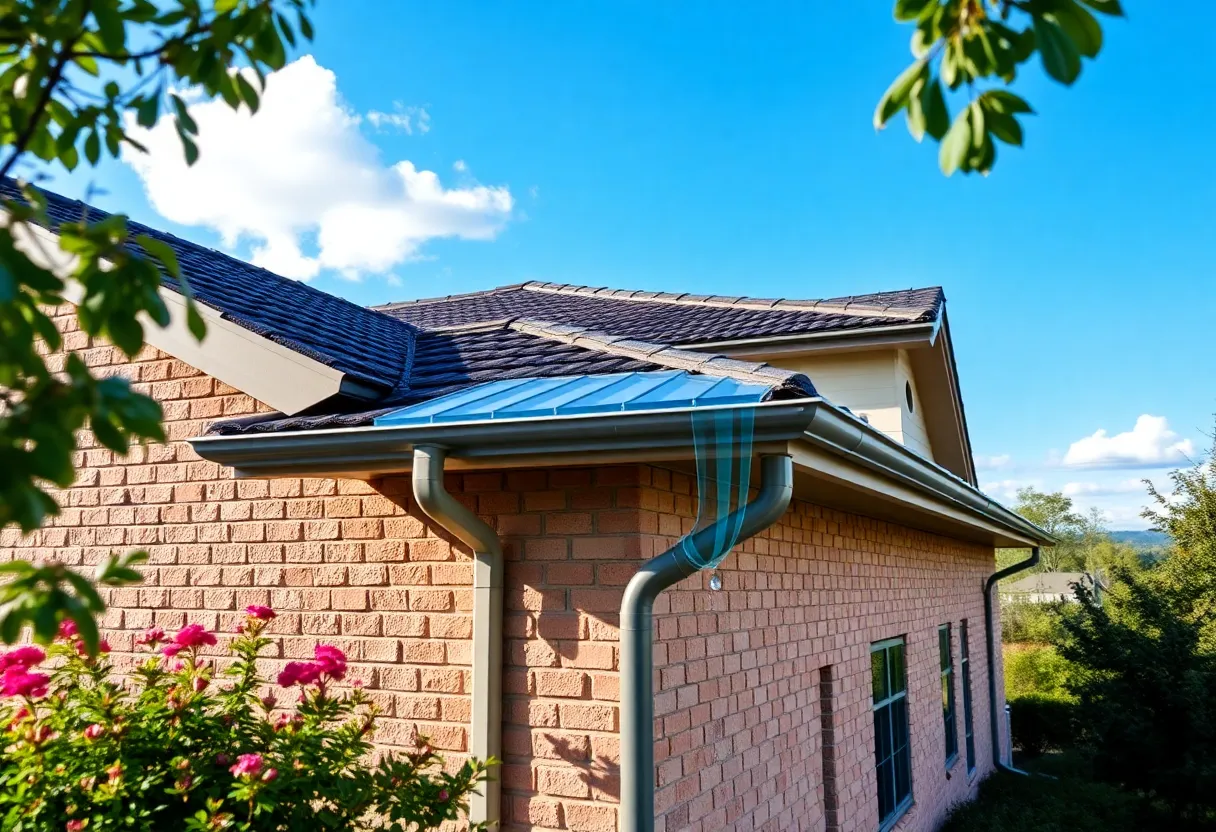
2. Gutter Systems
Gutters play a pivotal role in directing water off the roof. Ensure your gutters are adequately sized based on your roof area and local rainfall rates. Regular cleaning is essential to prevent clogs.
Types of Gutters
- Half-Round Gutters: Traditional design, ideal for historical homes.
- K-Style Gutters: Modern option, with higher capacity.
3. Downspouts
Install downspouts at regular intervals along the gutter system. The standard guideline is one downspout for every 40 feet of gutter. Ensure downspouts extend away from the foundation to avoid water pooling around the base of your home.
Additional Design Considerations
In addition to pitch and gutter systems, consider the following:
1. Roof Valleys
Valleys are areas where two roof surfaces meet, and they are prone to water accumulation. Proper flashing and steep valley designs can mitigate pooling.
2. Scuppers and Rood Drains
Flat roofs often require specialized drainage solutions. Scuppers are openings in the parapet walls that allow water to flow off the roof. Meanwhile, roof drains provide a centralized drainage point for flatter configurations.
3. Ice and Snow Considerations
In colder climates, proper drainage is essential for preventing ice dams. Design roofs with adequate insulation and ventilation to minimize snow accumulation and melting.
Steps to Design Your Roof for Optimal Drainage
Follow these systematic steps to enhance your roof’s drainage capabilities:
Step 1: Evaluate Your Current Roof System
Conduct an inspection to identify weak points in your existing drainage system. Look for pooling water, clogged gutters, and damaged downspouts.
Step 2: Calculate Required Drainage
Gather data on local rainfall and calculate how much water your roof can handle. This information will guide your design choices.
Step 3: Plan Gutter and Downspout Placement
Utilize strategic placement of gutters and downspouts to facilitate water flow. Identify low points where water naturally collects, and place drainage systems accordingly.
Step 4: Choose the Right Materials
Select durable materials for your gutters and drainage systems. Zinc, aluminum, and copper are popular choices for their longevity and resistance to corrosion.
Step 5: Install Your System
Follow local building codes during installation. If you encounter challenges, consult with a professional to ensure everything meets regulatory standards.
Maintenance for Long-term Effectiveness
A well-designed drainage system requires regular maintenance:
1. Cleaning Gutters and Downspouts
Schedule cleaning at least twice a year, preferably in spring and fall. Remove leaves, dirt, and debris to ensure optimal water flow.
2. Inspect Flashing and Seals
Check exposed flashing and seals for wear. Replace any damaged areas to prevent leaks around roof joints.
3. Monitor Water Flow
After heavy rainfall, inspect how well water drains from your roof. Make adjustments as necessary if you notice stagnant areas.
Conclusion
Designing your roof for optimal water drainage is crucial for the longevity of your home. By understanding your roof type and integrating essential drainage features, you can protect your property from water damage. Regular maintenance also ensures that your drainage system continues to function effectively. With proper planning and execution, you can achieve a functional and efficient roof that stands the test of time.
Author: STAFF HERE LEXINGTON WRITER
The LEXINGTON STAFF WRITER represents the experienced team at HERELexington.com, your go-to source for actionable local news and information in Lexington, Fayette County, and beyond. Specializing in "news you can use," we cover essential topics like product reviews for personal and business needs, local business directories, politics, real estate trends, neighborhood insights, and state news affecting the area—with deep expertise drawn from years of dedicated reporting and strong community input, including local press releases and business updates. We deliver top reporting on high-value events such as Woodland Art Fair, Crave Food and Music Festival, and Railbird Festival. Our coverage extends to key organizations like Commerce Lexington and Blue Grass Community Foundation, plus leading businesses in education, manufacturing, and technology that power the local economy such as University of Kentucky, Toyota Motor Manufacturing, and Lexmark. As part of the broader HERE network, including HEREBowlingGreen.com and HERELouisville.com, we provide comprehensive, credible insights into Kentucky's dynamic landscape.