What Are the Must-Know Techniques for DIY Roof Shingle Repair?
Repairing roof shingles is a vital home maintenance task that can prevent significant damage and expensive repair bills down the line. Knowing the essential techniques for DIY roof shingle repair can empower homeowners to tackle this task effectively. This article will explore various methods for repairing shingles and provide critical steps to ensure a successful, long-lasting fix.
Understanding Your Roof Shingles
Before diving into repair techniques, it’s important to understand what you are working with. There are different types of roof shingles, including:
- Asphalt shingles
- Wood shingles
- Metal shingles
- Ceramic tiles
Asphalt shingles are among the most common due to their affordability and ease of installation. Familiarizing yourself with your specific shingle type is crucial before proceeding with repairs.
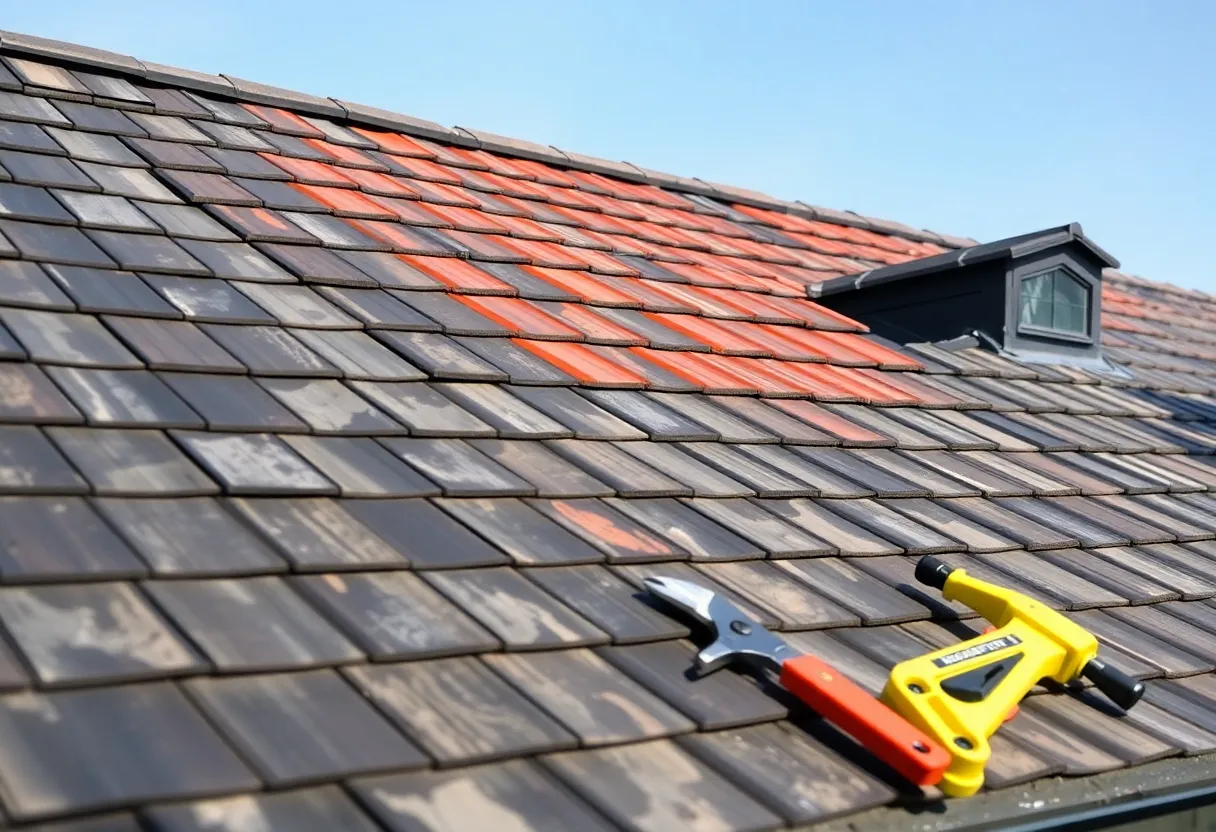
Assessing Damage
Effective repair starts with a thorough assessment of the roof’s condition. Walk around your home and use binoculars to look for:
- Missing shingles
- Cracked or buckled shingles
- Shingles with curled edges
- Granule loss on shingles
Identifying the extent of the damage will inform you whether a patch-up is sufficient or if full replacement of shingles is necessary.
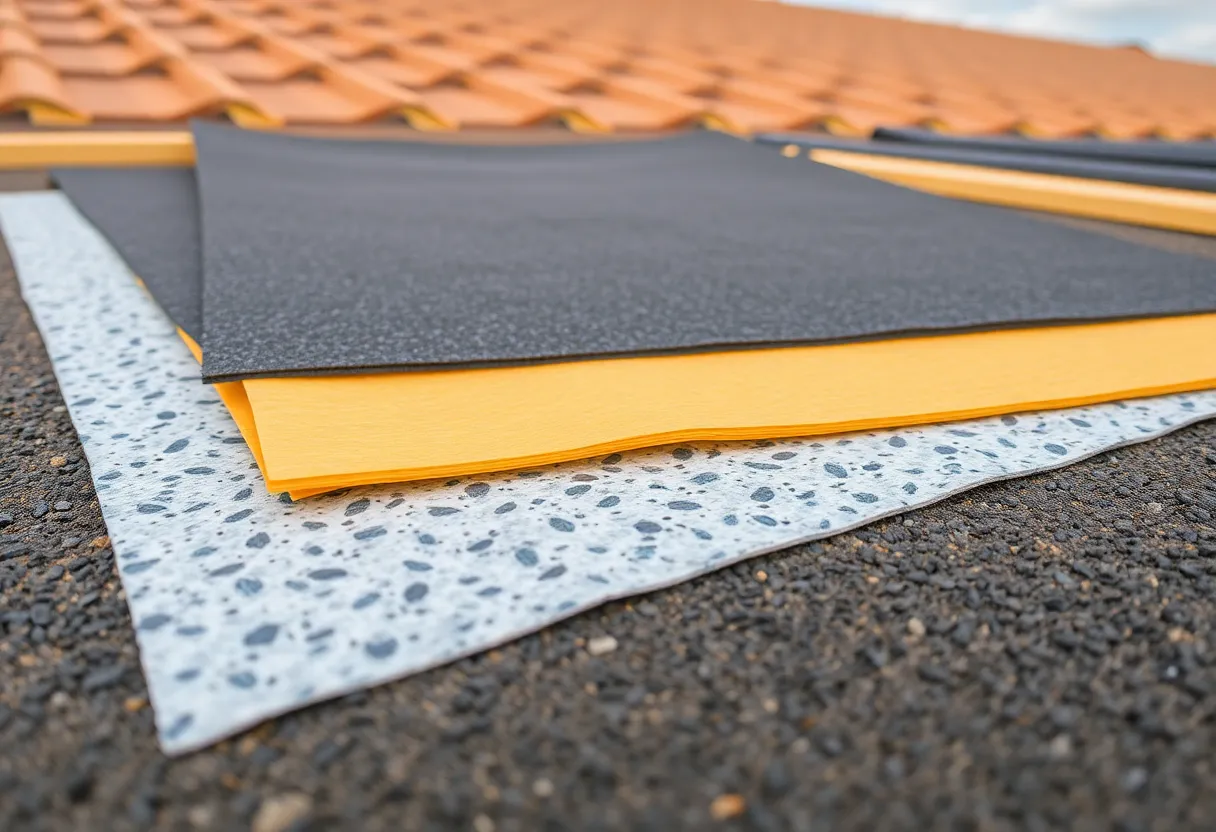
Necessary Tools and Materials
Before starting any repair project, gather the following tools and materials:
- Replacement shingles
- Roofing nails
- A hammer
- A utility knife
- Roofing cement
- Safety equipment (gloves, goggles)
Having these items ready will streamline the repair process and ensure you have everything you need at your fingertips.
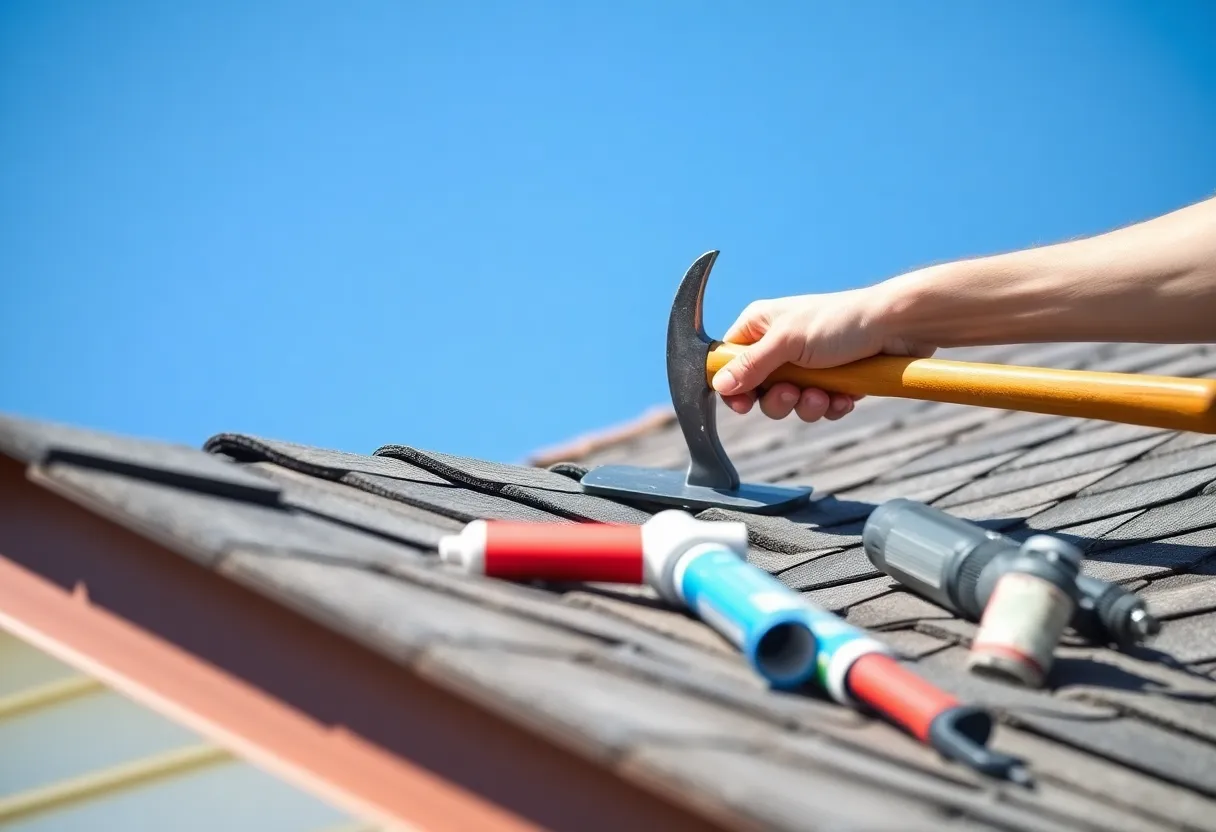
Repair Techniques
1. Replacing Missing Shingles
Missing shingles must be replaced promptly to avoid leaks. Here’s how:
- Remove the damaged area’s underlying shingles by lifting the edges and carefully pulling them out.
- Position the new shingle into place, ensuring it aligns with adjacent shingles.
- Secure the new shingle with roofing nails, driving them in at an angle for better stability.
- Apply a dab of roofing cement under the shingle edges for extra security.
2. Fixing Cracked or Damaged Shingles
If a shingle is cracked but still in place, you can often repair it without replacement.
- Lift the cracked shingle slightly to expose the damaged area.
- Apply roofing cement beneath the crack.
- Press the shingle back down and smooth it out.
- Seal the crack with additional roofing cement from above.
3. Addressing Curling Shingles
Curling shingles can allow water to seep underneath. To fix this, follow these steps:
- Use a hairdryer or heat gun on a low setting to warm the curling edges gently.
- Once pliable, press the shingle down.
- Apply roofing cement on the underside of the curled edges and hold them in place until the cement sets.
4. Repairing Granule Loss
If you notice bald spots due to granule loss, this can expose your shingles to UV damage. To repair:
- Apply a layer of roofing cement over the affected area.
- Sprinkle new granules or use a compatible granule replacement product to the area.
- Press them down gently to ensure they adhere properly.
Safety Considerations
Safety should always be your top priority when working on a roof:
- Use proper safety gear, including gloves and goggles.
- Employ a sturdy ladder and ensure it is placed on stable ground.
- Never work on a roof during inclement weather or on wet surfaces.
- Consider harnesses or safety equipment if working on a steep pitch.
Post-Repair Maintenance
After completing your repairs, it’s crucial to maintain your roof:
- Inspect your roof bi-annually and after severe weather.
- Clean gutters regularly to prevent clogging and water backup.
- Remove debris, such as leaves and branches, from your roof.
Regular maintenance extends the life of your roof and reduces the need for extensive repairs.
When to Call a Professional
While many repairs can be performed as DIY projects, some situations warrant professional help:
- If the damage is extensive or affects structural integrity.
- If you are uncomfortable or unsure about performing repairs safely.
- In the case of multiple leaks or widespread shingle failure.
Calling a qualified roofing contractor can ensure the job is done correctly and safely.
Conclusion
Understanding and implementing these must-know techniques for DIY roof shingle repair can save you time, money, and stress. Regular maintenance, timely repairs, and adherence to safety practices will extend your roof’s lifespan and protect your home from water damage. Always prioritize your safety and seek professional assistance when needed to ensure the best outcome for your roof.
Author: STAFF HERE LEXINGTON WRITER
The LEXINGTON STAFF WRITER represents the experienced team at HERELexington.com, your go-to source for actionable local news and information in Lexington, Fayette County, and beyond. Specializing in "news you can use," we cover essential topics like product reviews for personal and business needs, local business directories, politics, real estate trends, neighborhood insights, and state news affecting the area—with deep expertise drawn from years of dedicated reporting and strong community input, including local press releases and business updates. We deliver top reporting on high-value events such as Woodland Art Fair, Crave Food and Music Festival, and Railbird Festival. Our coverage extends to key organizations like Commerce Lexington and Blue Grass Community Foundation, plus leading businesses in education, manufacturing, and technology that power the local economy such as University of Kentucky, Toyota Motor Manufacturing, and Lexmark. As part of the broader HERE network, including HEREBowlingGreen.com and HERELouisville.com, we provide comprehensive, credible insights into Kentucky's dynamic landscape.