How to Effectively Remove and Replace Roof Shingles: A Step-by-Step Guide for Homeowners
Maintaining the integrity of your roof is essential for protecting your home. Over time, shingles can become damaged due to weather conditions, age, or poor installation. This guide will provide you with the necessary steps to effectively remove and replace roof shingles, ensuring your home remains safe and dry.
Understanding the Importance of Roof Maintenance
A roof is a critical part of your home’s structure. It serves several functions, including:
- Protecting against weather elements
- Providing insulation
- Enhancing curb appeal
Regular maintenance and timely repairs are vital to prolong the lifespan of your roof. Spotting issues early can save money and prevent extensive damage down the line.
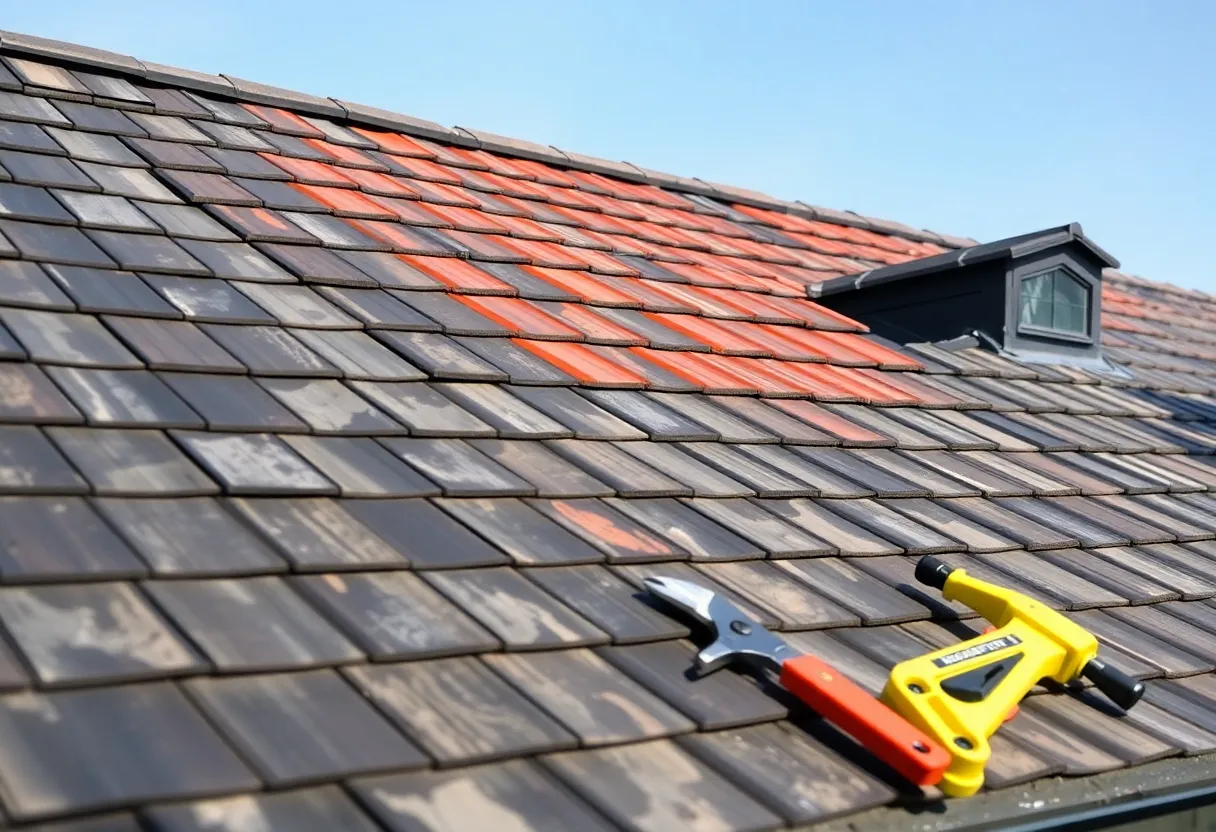
Identifying When to Replace Shingles
Knowing when to replace shingles is crucial. Signs that your shingles need replacing include:
- Bald spots or missing granules
- Cracks or breaks in the shingles
- Curling or buckling edges
- Visible leaks inside your home
If you notice any of these issues, it’s a good indication that you need to replace your roof shingles.
Preparation Steps Before Removal
Gathering Necessary Tools and Materials
Before starting, ensure you have the following tools on hand:
- Roofing nail puller
- Hammer
- Utility knife
- New shingles
- Roofing felt
- Safety goggles
- Non-slip shoes
- Extension ladder
Assessing Safety Considerations
Safety should be your top priority. Here are essential precautions:
- Wear safety goggles and durable footwear.
- Use a stable extension ladder.
- Ensure you have a helper, if possible.
- Check the weather forecast to avoid working in inclement conditions.
Step-by-Step Process for Roof Shingle Replacement
Step 1: Remove Old Shingles
Begin by removing the old shingles. Here’s how:
- Use a roofing nail puller to carefully pry up the nails holding the shingles in place. Start at the top row and work your way down.
- Remove the shingles gently to avoid damaging flashing or felt underneath.
- Dispose of the old shingles responsibly, following local guidelines for disposal products.
Step 2: Inspect the Roof Deck
Once the shingles are removed, inspect the roof deck. Look for:
- Signs of rot, mold, or damage
- Structural integrity of the plywood
If you identify damage, replace the affected sections before proceeding.
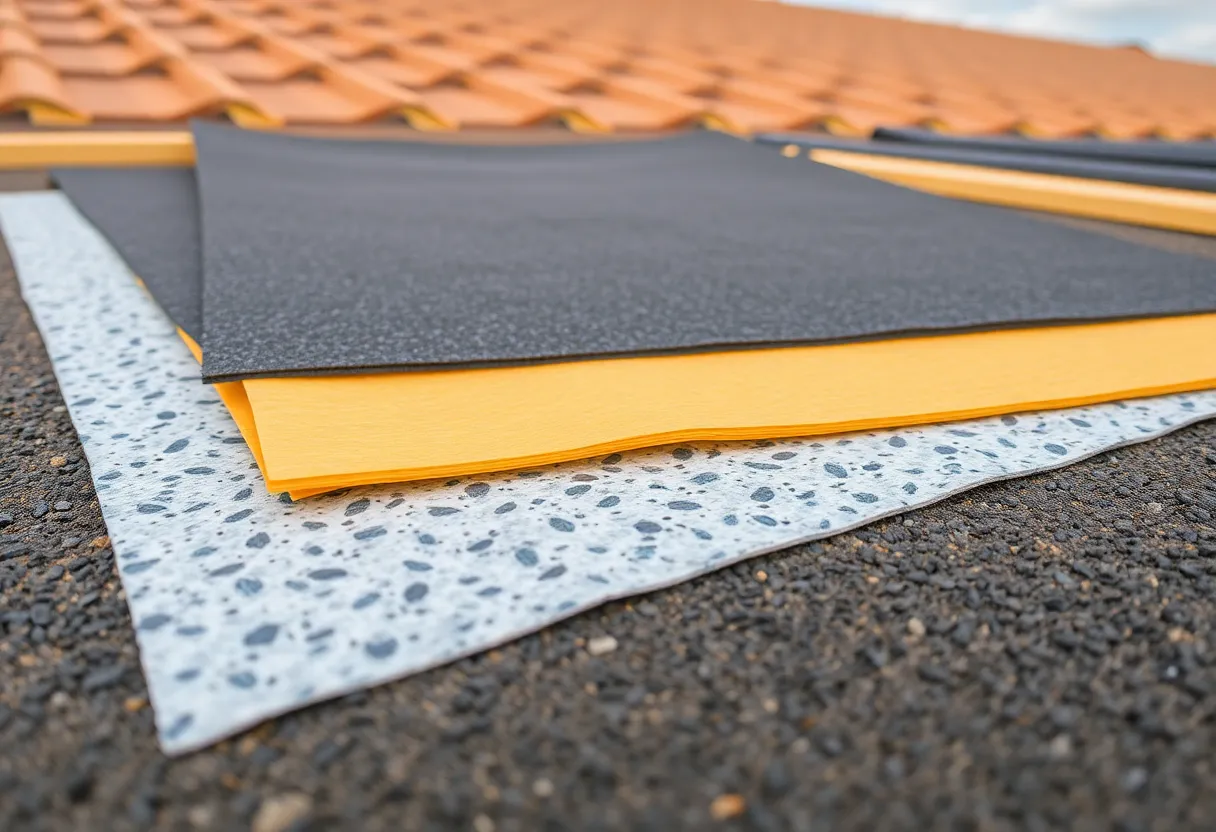
Step 3: Install New Roofing Felt
Before laying down shingles, it’s essential to put down a layer of roofing felt:
- Start at the bottom edge and roll out the felt vertically.
- Overlap each row by about 4 inches.
- Use roofing nails to secure the felt every few feet across the surface.
Note: Using roofing felt helps waterproof the roof and provides an extra layer of protection.
Step 4: Lay the New Shingles
Following installation of the felt, it’s time to install the new shingles:
- Begin at the bottom corner of the roof, working horizontally.
- Place the first shingle so it overhangs the edge slightly.
- Secure each shingle with roofing nails, emphasizing at least four nails per shingle, and avoid nailing too close to the edges.
- Continue working across and upwards, staggering the joints between each row to ensure better water drainage.
Step 5: Install the Ridge Cap Shingles
Once the main field shingles are in place, add ridge cap shingles to the peak of the roof:
- Cut shingles to accommodate the ridge angle as needed.
- Apply roofing cement underneath the ridge cap and secure using nails.
Step 6: Clean Up
After finishing the installation, clean the area:
- Remove any debris and old materials.
- Inspect the roof for any misplaced nails or shingles.
Post-Installation Considerations
Monitoring and Maintenance
After replacing your shingles, it’s crucial to monitor the roof regularly. Check for:
- Any signs of leaks
- Conditions of the shingles after storms
Proper Ventilation
Ensure your roof has proper ventilation to prevent heat buildup and moisture accumulation. Good ventilation can prolong the life of your roof.
Know When to Call a Professional
If the job seems too daunting, or if you encounter structural issues beyond minor repairs, consider consulting a professional. They can provide expert guidance and ensure the job is done right.
Conclusion
Replacing roof shingles is a manageable task for homeowners willing to invest time and effort. By following this step-by-step guide, you can effectively remove and replace roof shingles, ultimately contributing to the safety and longevity of your roof. Ensuring the proper techniques and materials are used throughout the process is essential to achieving a solid and long-lasting result.
Remember, regular maintenance and attention to detail can enhance your roof’s lifespan, protecting your home for many years to come.
Author: STAFF HERE LEXINGTON WRITER
The LEXINGTON STAFF WRITER represents the experienced team at HERELexington.com, your go-to source for actionable local news and information in Lexington, Fayette County, and beyond. Specializing in "news you can use," we cover essential topics like product reviews for personal and business needs, local business directories, politics, real estate trends, neighborhood insights, and state news affecting the area—with deep expertise drawn from years of dedicated reporting and strong community input, including local press releases and business updates. We deliver top reporting on high-value events such as Woodland Art Fair, Crave Food and Music Festival, and Railbird Festival. Our coverage extends to key organizations like Commerce Lexington and Blue Grass Community Foundation, plus leading businesses in education, manufacturing, and technology that power the local economy such as University of Kentucky, Toyota Motor Manufacturing, and Lexmark. As part of the broader HERE network, including HEREBowlingGreen.com and HERELouisville.com, we provide comprehensive, credible insights into Kentucky's dynamic landscape.